Create a New Document | Photoshop
When we need to move and arrange a series of elements, like images on a canvas, we need to create a new document in Photoshop. However, you will use the new document more in Photoshop when you want to draw or create a document using filters later to create effects in other images.
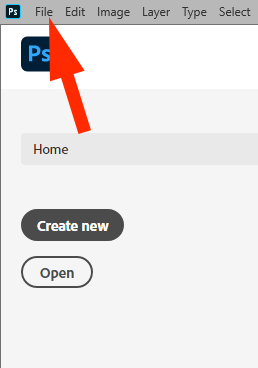
Using the home screen to create a new document in photoshop
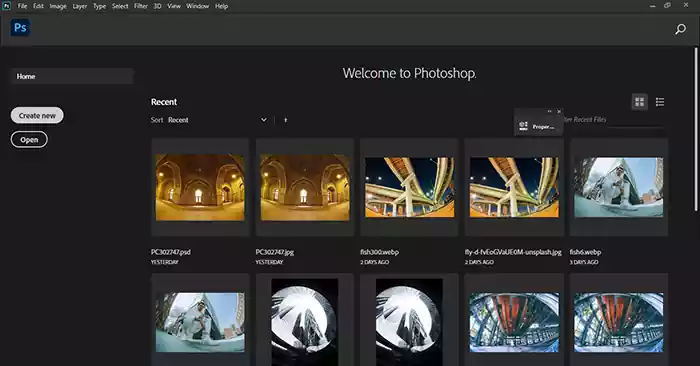
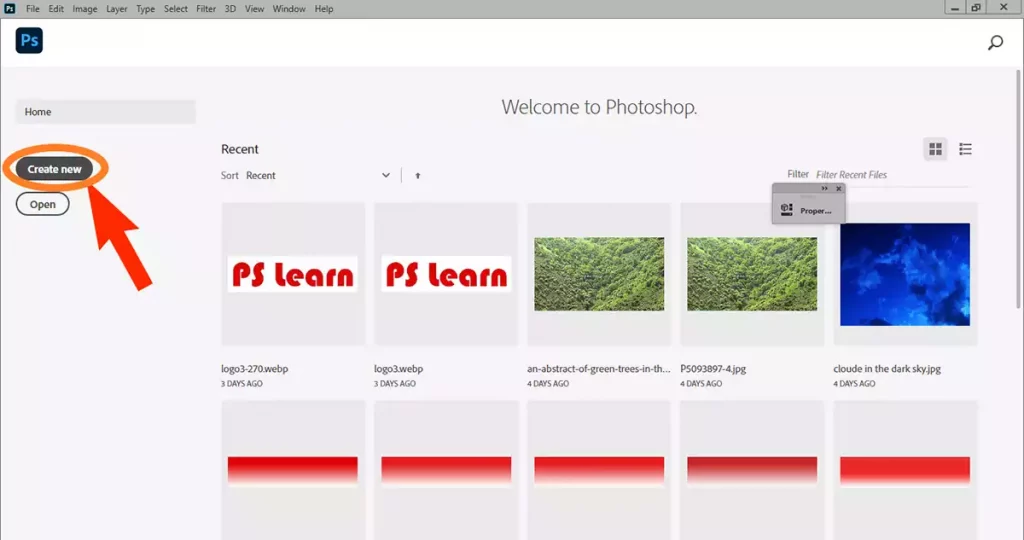
Each time you open Adobe Photoshop without opening a specific file, you will see a home screen. In the center of the home screen are the thumbnails of the files you have just worked on recently. Click the Create New button on the left side. ( Visit Basic Photoshop Tutorials for Beginners to read more articles about basic Photoshop tutorials. )
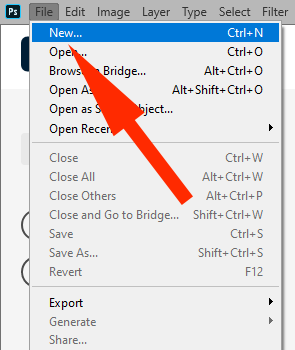
Using file menu for creating a new document
You can use the file menu from the menu bar by choosing New or pressing the keyboard shortcut Ctrl+N.
The New Document dialog box
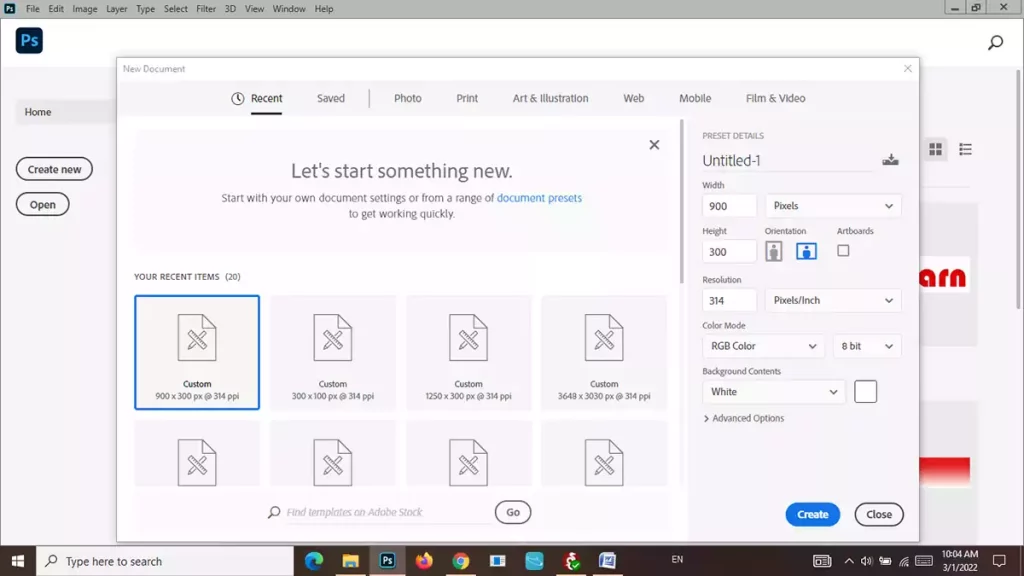
The New Document dialog box will open whichever way you create a new document in Photoshop.
The main point at this stage is to determine the size of the document. In the top menu of the box, Photoshop introduces several options for its new document: Recent, Saved, Photo, Printed, Art & Illustration, Web, Mobile, and Film & Video.
The Recent category is a collection of document presets you have recently worked with. You can select any preset you want in each category. These are actually the suggested dimensions by Photoshop for your new document.
You can use preset details if you want to specify all options manually.
Preset Details
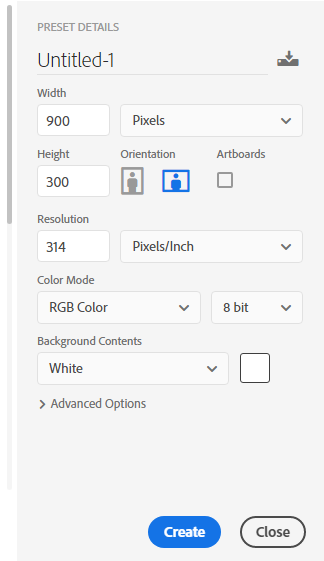
In the Preset Details panel, you can select a name for the document that is preset Untitled-1 by default. Width and length can be set as desired. The unit of dimensions of the document can be inches or centimeters if you intend to print it. You can also use pixels if the document is to be used on the web.
Orientation
You can swap between portrait and landscape buttons, which switch the width and height of the document.

Color Mode
There are many options for Color Mode; if you want to use the image on the web, set it to RGB, and if you’re going to print it, set that part of the settings to CMYK.
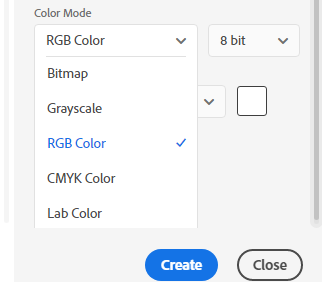
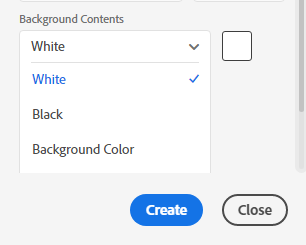
Background Content
Background Content can be white, black, or custom color.
Click the Create button after you have customized the Preset Details.
How to create a new document in Photoshop with transparent background
Select the transparent option from Color Mode to create a document with a transparent background.

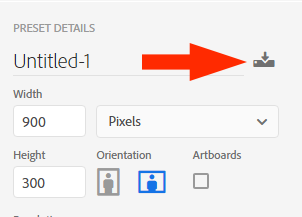
Saving setting of a new preset
Sometimes, you want to save an image’s settings for later use, so click the save icon.
( Please look at Open Two Images in Photoshop to read more about Opening two images in one document at the same time )
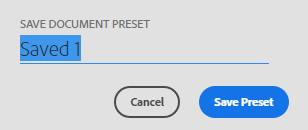
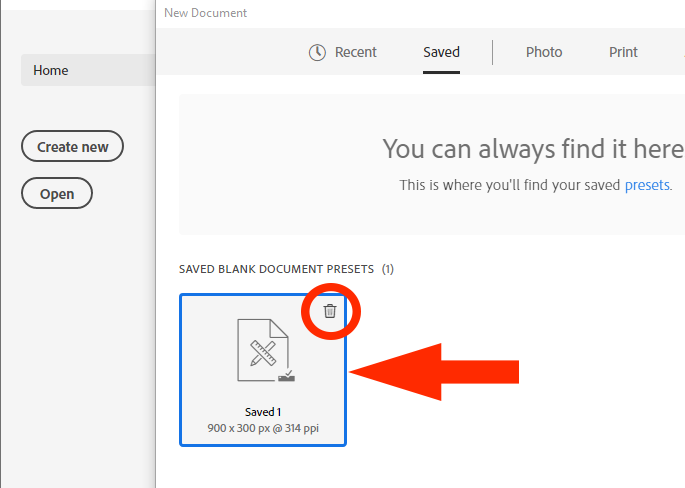
The preset save box opens, and you can save it after choosing a name for the new Priest settings. These new settings will then appear in the Saved Category.
To delete a preset setting, click the trash bin icon at the top right.
Sources
https://www.photoshopessentials.com


