Content Aware Tool | Photoshop
When we decide to delete a part of a photo, one of the problems is how to replace it. The Healing Brush Tool or the Clone Stamp Tool can be used, but the best is the Content-Aware Fill Tool. So, in this article, let’s discuss how to use the Content Aware Tool in Photoshop.
Start to use the Content Aware Tool with the Opening of the Content-Aware Fill box
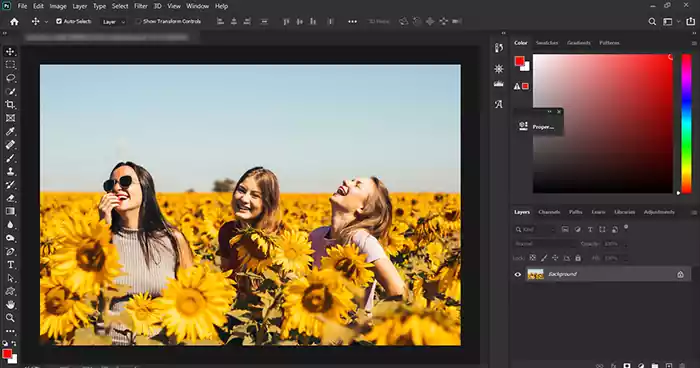
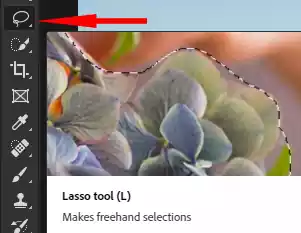
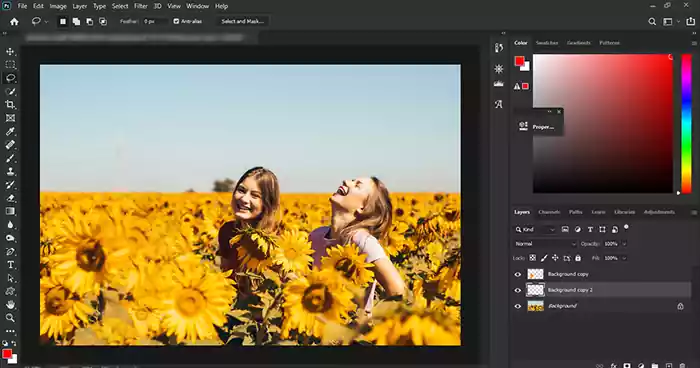
Content-Aware Fill is in the Edit menu but is disabled. To activate it, you must select a part of the image using the selection tools. For example, I used Lasso Toll to remove one of the ladies in this picture and drew a line around it. ( Visit Basic Photoshop Tutorials for Beginners to read more articles about basic Photoshop tutorials. )
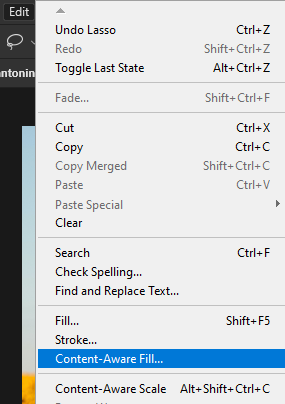
Select the Content-Aware Fill submenu from the Edit menu to use the Content Aware Tool.
The Content-Aware Fill box will open.
The Content-Aware Fill workspace
In the Content-Aware workspace, we see two images. One is on the right, which shows a preview of the result, and the other is on the left, most of which is covered in green. These are the points that the tool will use to cover the replacement area.
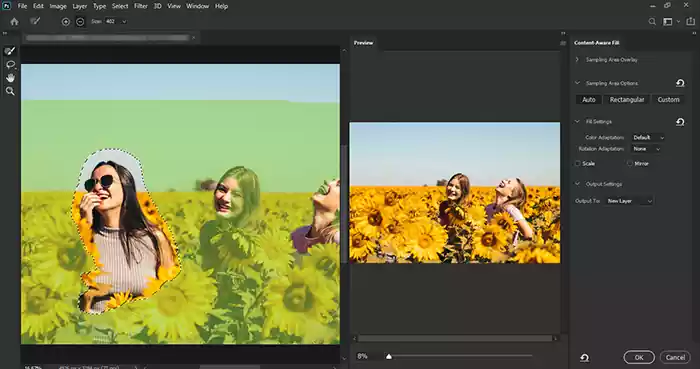
The Content-Aware Fill workspace, like Photoshop, has a toolbar for itself on the left.

The Sampling Brush Tool
The top tool in the toolbar is the Sampling Brush, which adds or reduces the image area used to fill in the blanks.
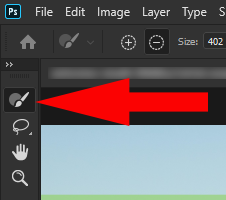
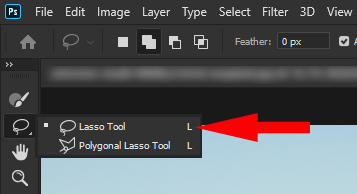
The Lasso tool
The second tool is the Lasso Tool. If you click and hold on it, you will notice that the Polyglonal Lasso Tool is also under it. Lasso tools are used to add or subtract selected areas.
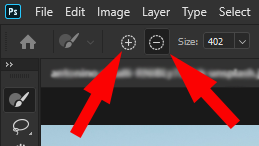
The Content Aware Tool’s Options Bar is at the top of the page. It has + and—signs, which allow you to add or subtract a region to the selected part.
The Content Aware Fill Panel
The Content-Aware Fill Panel is on the right side of the Preview section. It has four parts and provides the user with options for displaying the Sampling Area and its function to use in the Content Aware Tool .

The Sampling Area Overly
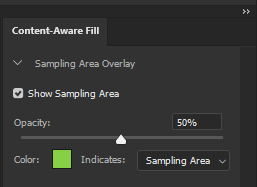
This section determines how to display the Sampling Area. The corresponding area will be displayed in the Preview section by checking the Show Sampling Area checkbox. Moving the pointer on the slider bar can change the opacity of the color displayed in the sampling area.
Using the Content Aware Tool, you can select the color to display in the Sampling area using the color box. From the drop-down menu, you can choose to show this color in the Sampling Area or Excluded Area.
The Sampling Area Options
The Auto option allows Photoshop to use an alternative selection surround to fill the selected area. This option is selected by default.
Rectangular: Photoshop uses a rectangular area around the selected area for sampling and filling it.
Custom: This is my favorite option! Because I can choose with the help of it, and by using Sampling Brush Tools where area that I want to be used for sampling.

Fill setting
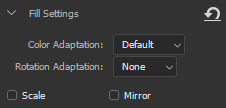
Color Adaptation: The areas around the selected area may differ from the selected area in terms of contrast and brightness. This option allows us to choose how much these two parameters are matched during filling. Photoshop uses textures and gradients to match. Our options are Default, High, and Very High.
Rotation Adaptation: This allows Photoshop to rotate the content, which can be set from low to full.
Scale: Allows Photoshop to use content resizing to fill specified areas. This method is suitable for repeating patterns and perspective situations.
Mirror : It uses a horizontal flip to fill the selected area.
Good luck!


