Crop Images in a Circle | Photoshop
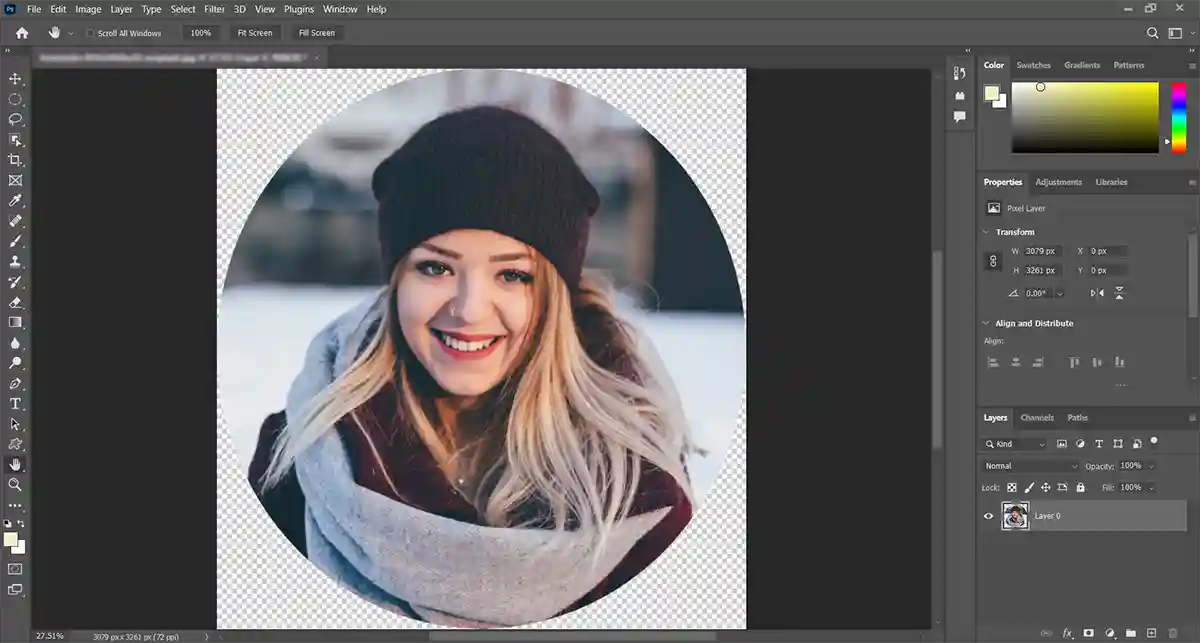
Because the crop tool cuts in square and rectangular shapes in normal mode, we usually think the crop can only be square. But the fact is that you can crop it in an oval shape. In this article, I will teach you how to crop images in a circle in Photoshop.
Open the image
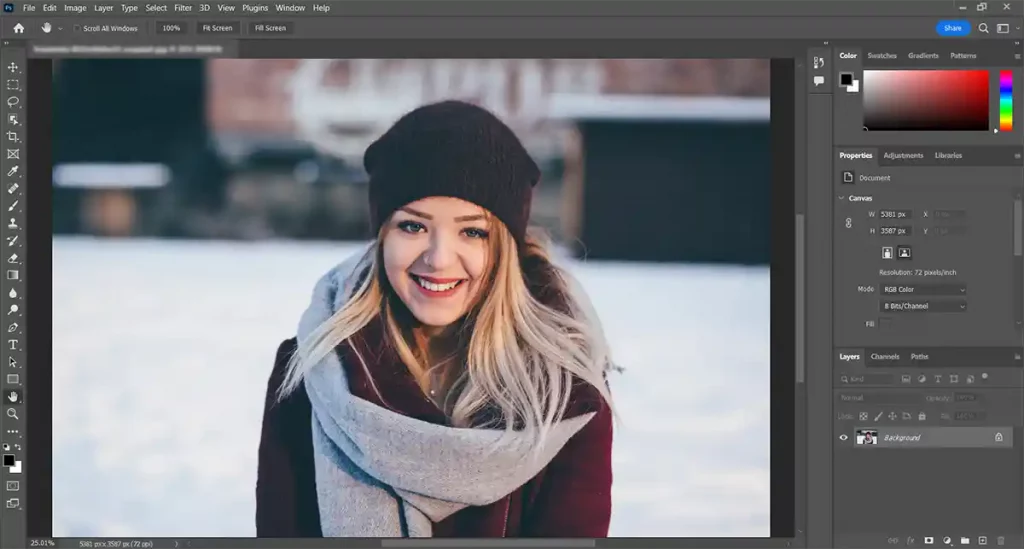
How to crop images in a circle in Photoshop
Unlock the background layer
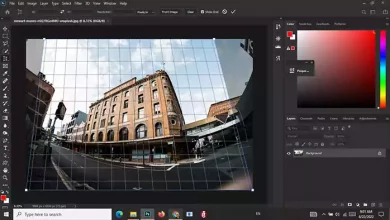
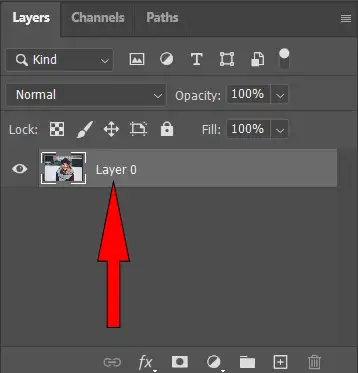
In the continuation of the work, you will remove a part of the image and create a transparent layer. Since the background layer does not allow creating a transparent layer, you must unlock it. In the layers panel, click the lock icon on the background layer. ( Please look at Perspective Crop Tool in Photoshop to read more )
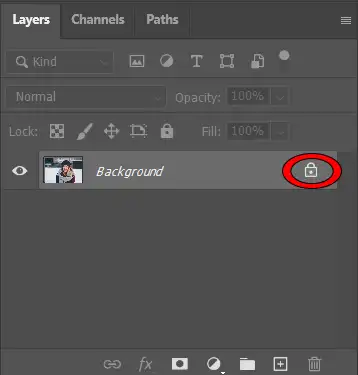
Photoshop will change the name of the background layer to layer 0.
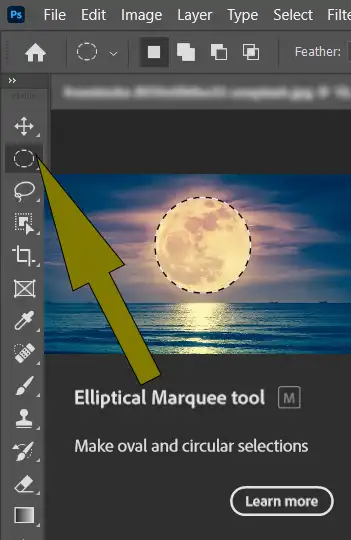
Now select the Elliptical Marquee Tool
Select the Elliptical Marquee Tool from Toolbar by right-clicking on Rectangular Marquee Tool.
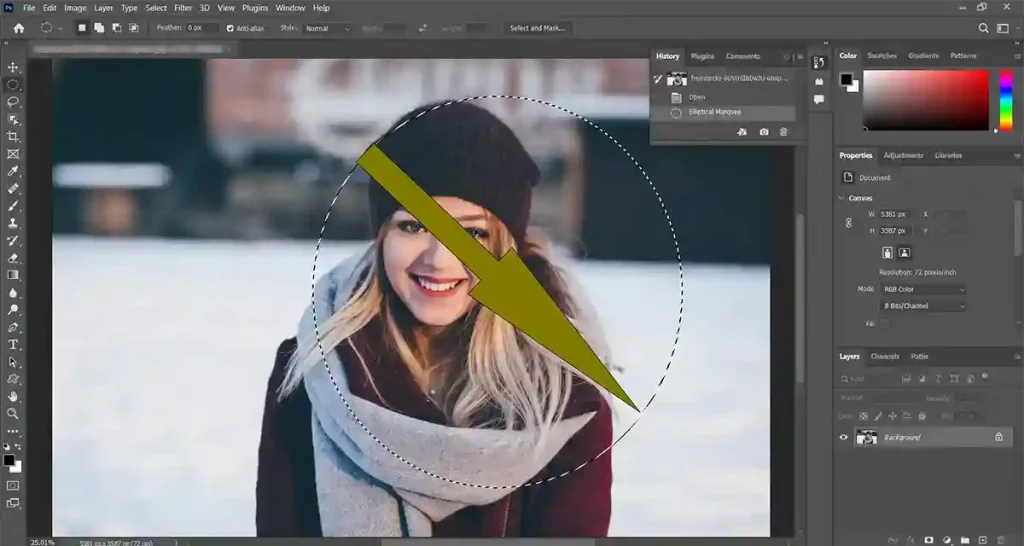
Select an oval area to crop image in a circle shape
( To read more about basic Photoshop tutorials, see Basic Photoshop Tutorials for Beginners )
Select an oval area with the Elliptical Marquee Tool. Hold the shift key while selecting the area to draw a circle. After selection, release the left mouse button. With the selected Elliptical Marquee tool, click somewhere in the selected area and move the ellipse to the area of the photo you want.
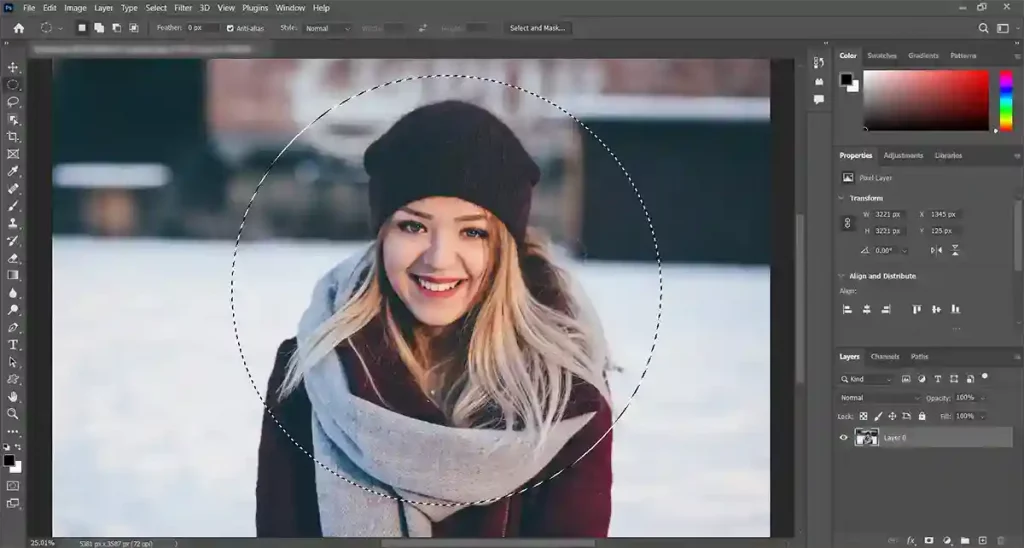
Create a transparent area around the oval
To crop images in a circle in Photoshop we need to target the area outside the ellipse; to do this, we must select that part. Go to the Select menu and Inverse, which will invert the selection area.
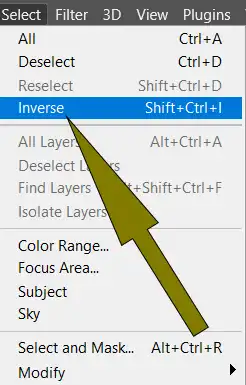
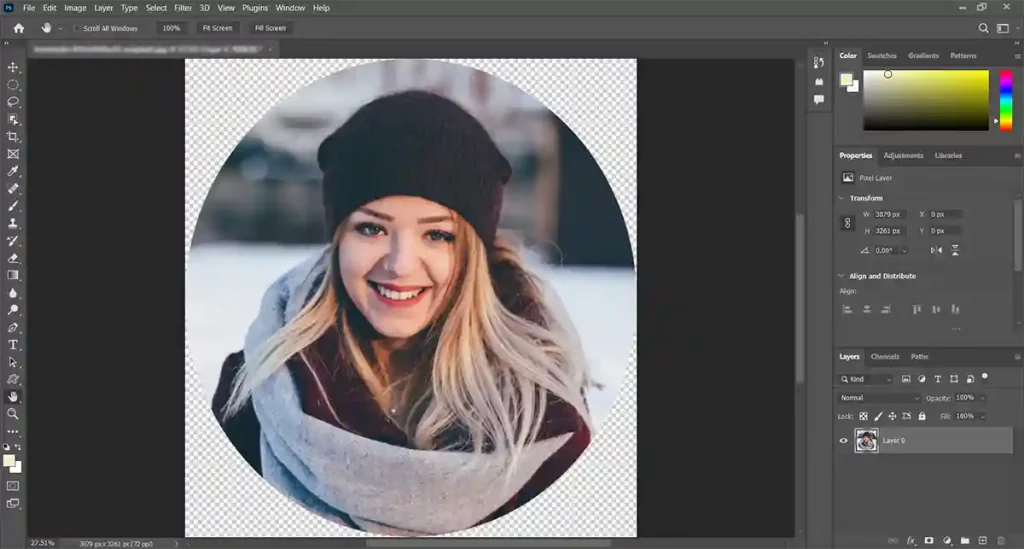
Now that the area outside the oval is selected delete that part by pressing the Delete or Backspace button. The area you deleted will appear like Checkerboard Pattern, representing the transparent area.
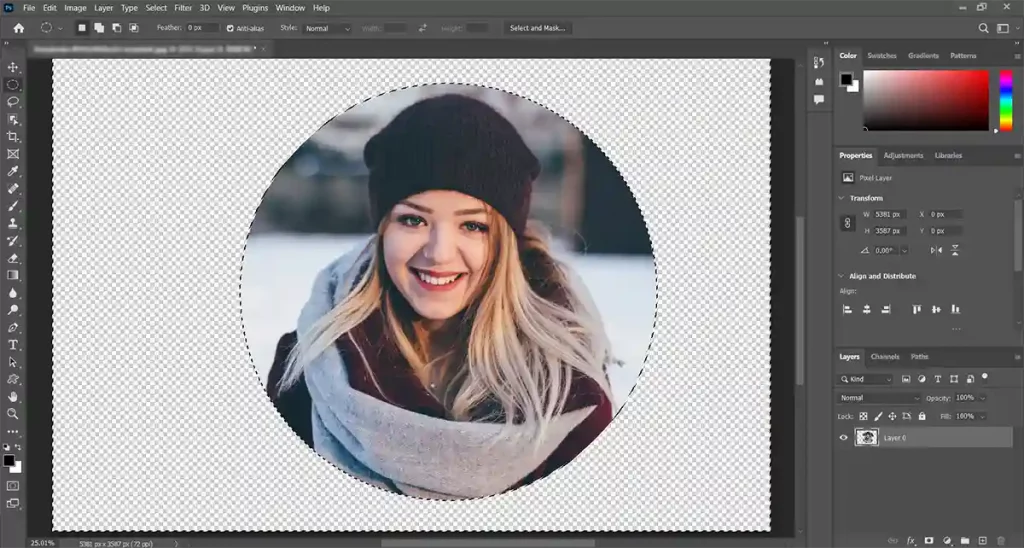
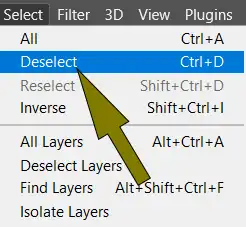
Select Deselect from the Select menu to remove the lines defining the selection areas from the screen.
Trim away the transparent areas
Choose Trim from the Image menu
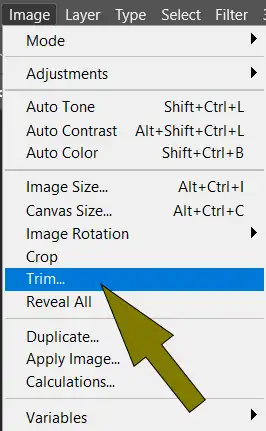
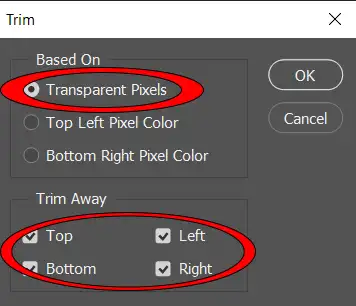
In the Trim dialog box, select Transparent Pixels and select all the checkboxes for Top, Bottom, Right, and Left.
Save in PNG format
This image contains transparent areas; you must save it in PNG format, which supports transparency. JPG format does not support transparency and changes those areas after saving.
