Perspective Crop Tool | Photoshop
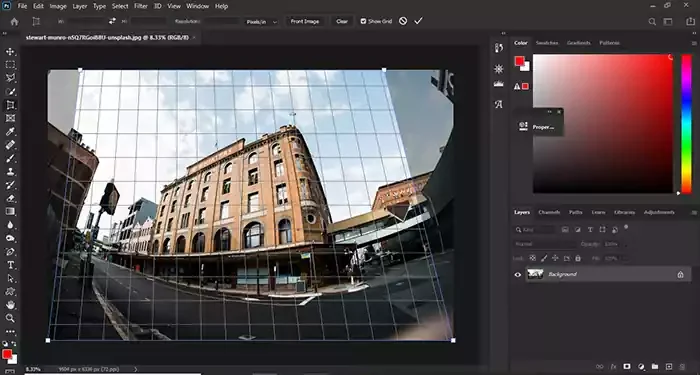
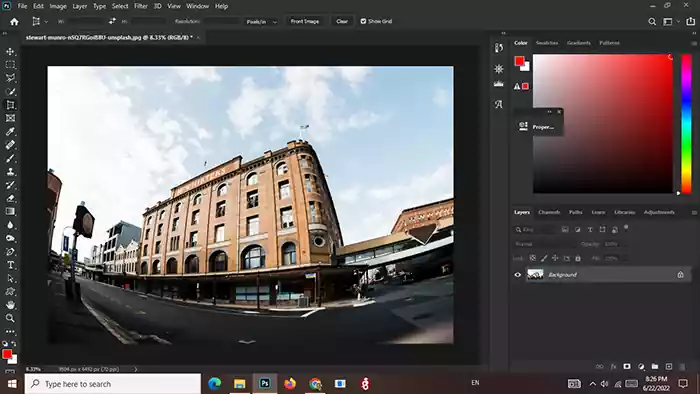
Sometimes, photography is taken from a certain angle and creates a perspective. In this way, parts of the photo are very close to the camera, and other components are very far from it, and it seems inclined towards the horizon. With the help of the Perspective Crop Tool, this problem can be solved, and a more natural and standard image aspect can be given. We will address this issue in the How to Use Perspective Crop Tool in Photoshop article.
Where is the Perspective Crop Tool in Photoshop?
If you right-click on the crop tool in the Photoshop Toolbar, you will find the Perspective Crop Tool in the vertical second row. Click on it.

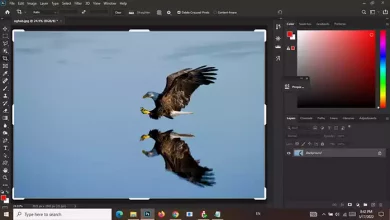
Drag the Crop box around the image
Drag from one corner of the image diagonally to the opposite corner. A small square will appear in each corner of the image, and the Crop Perspective Grid will be drawn everywhere. ( Visit Basic Photoshop Tutorials for Beginners to read more articles about basic Photoshop tutorials. )
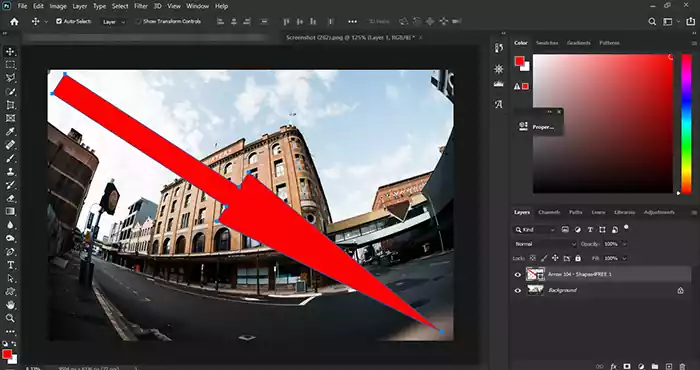
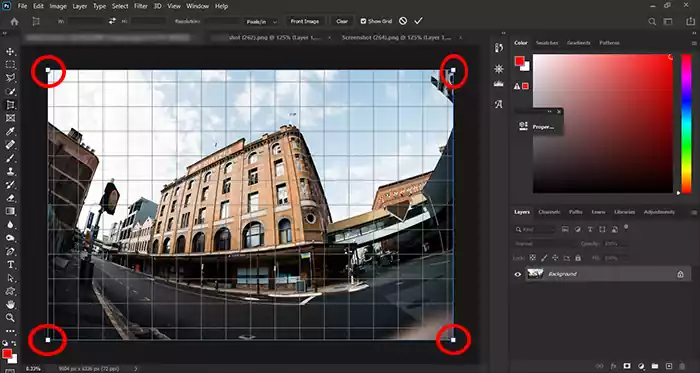
Adjustment of the Perspective Crop Tool with lateral walls of the building
( Please look at Crop Tool in Photoshop to read more )
Drag the handles inwards from the left and right at the top of the image. Continue this act until the grid’s vertical lines are parallel to the side walls of the building.
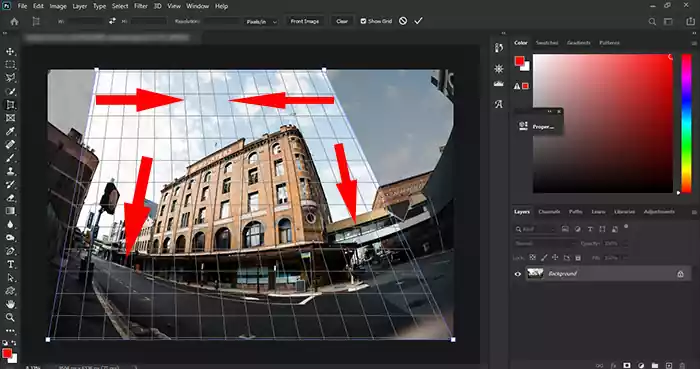
Press Enter or click on the Move Tool to confirm the crop.
Sources
https://www.photoshopessentials.com


